Forgalomirányítói kézikönyv: Difference between revisions
| Line 147: | Line 147: | ||
# 5 másodperc elteltével meg kell erősítened a hívójelzésed az Sz újboli megnyomásával, ez idő alatt is ellenőrizd végig hogy hova hívóztatod a vonatot. Megerősítés utána a jelző fehér színre vált és elkezd villogni. A hívójelzés 90 másodperc után automatikusan törlődik. Ha elrontottad a vonat vágányútját akkor visszaveheted a hívójelzést az OPS gombbal. | # 5 másodperc elteltével meg kell erősítened a hívójelzésed az Sz újboli megnyomásával, ez idő alatt is ellenőrizd végig hogy hova hívóztatod a vonatot. Megerősítés utána a jelző fehér színre vált és elkezd villogni. A hívójelzés 90 másodperc után automatikusan törlődik. Ha elrontottad a vonat vágányútját akkor visszaveheted a hívójelzést az OPS gombbal. | ||
== | ==Irányítás állomástávú vonalakon== | ||
Ha olyan helyen irányítunk, ahol a szomszédjaid és közted nincsenek automata térközök ott állomástávú közlekedésről beszélünk. Ilyenkor minden vonatot a szomszéd állomás írásos vagy szóbeli engedélyével lehetséges közlekedtetni. | |||
=== | ===Vonat fogadás=== | ||
[[File:Příjezdy - Komunikace s Botem.png|center|alt=rám]] | [[File:Příjezdy - Komunikace s Botem.png|center|alt=rám]]Miután az engedélykérés megtörtént a szomszéd kérvényezni fogja a menetirányt amit a sárga feléd mutató nyíl villogása fog jelezni. Ezt a PZK gombbal tudod elfogadni. Ekkor a menetirány beáll feléd. Ez után tud a szomszéd vonatot küldeni neked.[[File:Potvrzení příjezdu vlaku.png|center|alt=rám]]Ha leközlekedett a vonat az irány nyíl pirosra vált, ekkor a KO gombbal meg kell erősítsd hogy megérkezett a vonat. Ha ez megtörtént a menetirány ismét semleges állásba fog kerülni. | ||
=== | ===Vonat küldés=== | ||
[[File:Komunikace s AI - odjezdy.png|center|alt=rám]] | [[File:Komunikace s AI - odjezdy.png|center|alt=rám]]Vonatküldés esetén fel kell hívnod a szomszéd állomás diszpécserét és engedélyt kell kérned az adott vonatra. Meg kell adnod neki a vonatszámot, hogy melyik vágányra akarod küldeni. Ha visszaigazolt, akkor a biztosítóberendezéseden a WBL gombbal meg kell kérned a menetirányt. Ha megkaptad akkor a villogó nyíl folyamatossá válik. Ekkor már küldheted a vonatot. | ||
===Running on substitute signal - entering the station=== | ===Running on substitute signal - entering the station=== | ||
When a regular “proceed” signal cannot be given, the supplementary Sz signal is used. With the Sz signal the signal routes are not confirmed – the switches are set manually via the “PLUS” and “MINUS” commands, and then locked with the “STOP” command. After confirming that the way is free with the neighboring dispatcher, you should expect a demand to allow changing the interlock’s direction. Only when you allow it by the “PZK” command, the neighbor can dispatch a train to you. When a train appears on the line between the stations, use the “DKO” command and after five seconds confirm it with “DKOP” to expediently lock the ending block.[[File:Obrazovka speciálního příkazu.png|center|alt=rám]]This way the interlock is able to send a “KO” command without an entry signal being issued, and a yellow box will appear over the red interlock arrow.[[File:Obrazovka a ovládání Sz.png|center|alt=rám]]Now you can issue the supplementary signal Sz.[[File:Sz.png|center|alt=rám]]When the train vacates a section behind a signal, the “KO” command will unlock. After issuing the “KO” command the interlock will return to idle. | When a regular “proceed” signal cannot be given, the supplementary Sz signal is used. With the Sz signal the signal routes are not confirmed – the switches are set manually via the “PLUS” and “MINUS” commands, and then locked with the “STOP” command. After confirming that the way is free with the neighboring dispatcher, you should expect a demand to allow changing the interlock’s direction. Only when you allow it by the “PZK” command, the neighbor can dispatch a train to you. When a train appears on the line between the stations, use the “DKO” command and after five seconds confirm it with “DKOP” to expediently lock the ending block.[[File:Obrazovka speciálního příkazu.png|center|alt=rám]]This way the interlock is able to send a “KO” command without an entry signal being issued, and a yellow box will appear over the red interlock arrow.[[File:Obrazovka a ovládání Sz.png|center|alt=rám]]Now you can issue the supplementary signal Sz.[[File:Sz.png|center|alt=rám]]When the train vacates a section behind a signal, the “KO” command will unlock. After issuing the “KO” command the interlock will return to idle. | ||
Latest revision as of 21:45, 24 March 2023
Irányítói kézikönyv (forgalom irányítás):
Bevezető
Ez az útmutató segít elsajátítani a forgalomirányítás rejtelmeit többjátékos módban, bemutatja a jelenleg elérhető biztosító berendezés típusokat, vágányút beállításokat és a játékosokkal való kommunikációt.
Eszközök az állomásodon
Minden állomáson található egy forgalmi iroda (ahol te irányítasz). Ebben az irodában van falióra, lámpák és persze a biztosító berendezés maga.
Ha olyan állomáson irányítasz ahol elektronikus biztosítóberendezés található, akkor a vonatok mozgását egy monitoron fogod irányítani.
Ha olyan állomáson irányítasz ahol úgynevezett "Dominó" biztosítóberendezés található, akkor a vonatok mozgását ezen a felületen fogod irányítani.
Minden irányítható állomáson megtalálhatóak az alábbiak: menetrendi monitor, diszpécseri telefon.
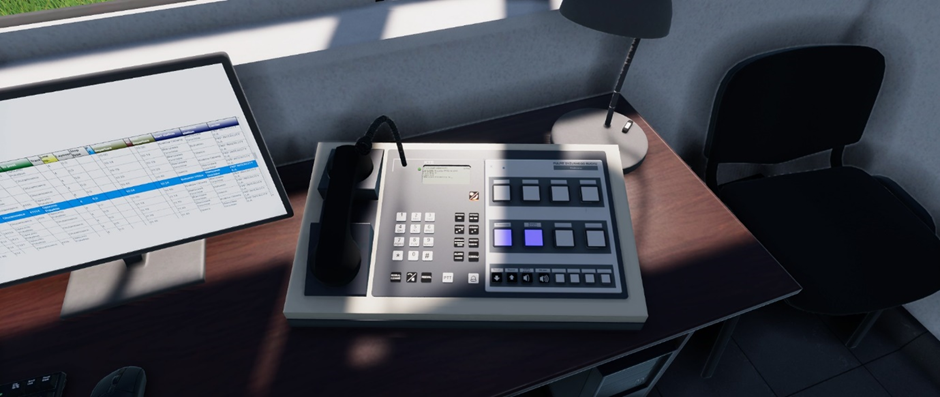
Diszpécseri telefon
Ezen a telefonon tudod elérni a szomszédos állomáson dolgozó diszpécsereket, illetve itt tudsz tájékoztatást adni a vonatokról.
Menetrendi monitor
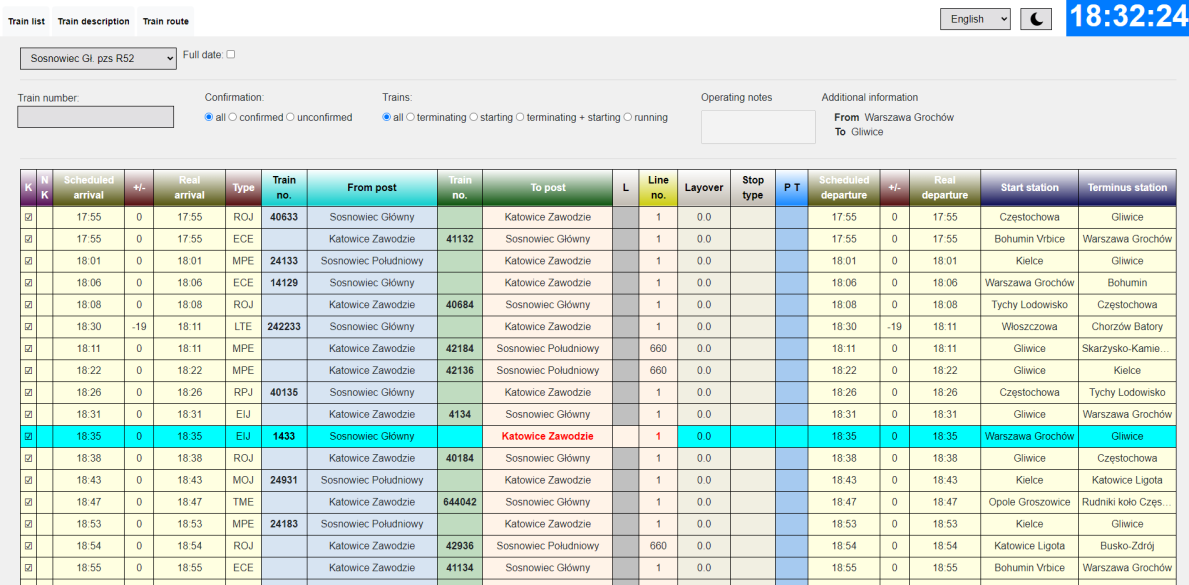
Ahhoz hogy megnyisd a menetrendi monitorodat teljes képernyőben, kattints rá a menetrendi monitorra. Itt láthatod az állomásodon áthaladó és megálló vonatokat egyaránt. Ha az állomásod rendelkezik más szolgálati hellyel is akkor a további állomásaidnak a menetrendje a “Posterunek” listával érhető el.
Például: Ha "Sosnowiec Główny"-ban irányítasz, akkor alap esetben a fő állomásod menetrendjét fogod látni. Ha kiválasztod a "pzs R52" állomásod (ami az állomásnak az elágazó állomása), akkor annak a menetrendjét fogod látni. Itt ebben az esetben a 660-as vonalnak a vonatait fogod látni, mivel ezek a vonatok nem érintik a fő állomásodat.
A menetrended oszlopai:
- K/NK – információ a vonatodról. K: közlekedik ; NK: nem közlekedik
- Scheduled arrival - Tervezett érkezés
- +/- - a tervezett idő helyetti eltérés (+ késés, - sietés)
- Real arrival - Valós érkezés
- Type - Vonatnem (vonat típusa)
- Train no. - Vonatszám
- From post - Honnan érkezik (melyik szomszédod felől érkezik)
- Train no. - Vonatszám
- To post - Hova megy (melyik szomszédodhoz kell küldeni a vonatot)
- Line no. - Vasútvonal száma
- Layover - Vonat tartózkodás (mennyi ideig áll a vonat az állomásodon)
- Stop type - megállás típusa (Ph: utascsere miatti megállás, Pt: Forgalmi okból megállás)
- Scheduled departure - Tervezett indulás
- +/- - a tervezett idő helyetti eltérés (+ késés, - sietés)
- Real departure - Valós indulás
- Start station - Kiinduló állomás
- Terminus station - Végállomás
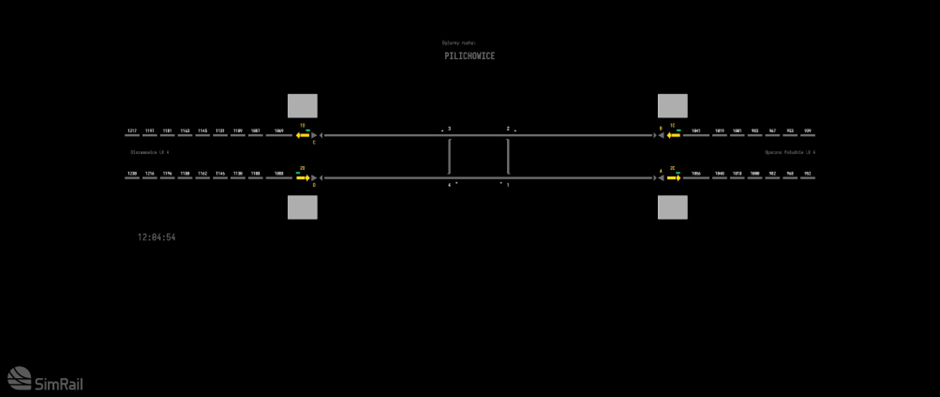
Elektronikus biztosítóberendezésnek a kezelőfelülete
Kattints a képernyőre a teljes képernyő eléréséhez. Kilépni az ESC gombbal tudsz innen.
Dominó biztosító berendezés
A dominó berendezést közvetlen irányítod a diszpécsered saját látószögéből. (nem kell teljes képernyő stb.)
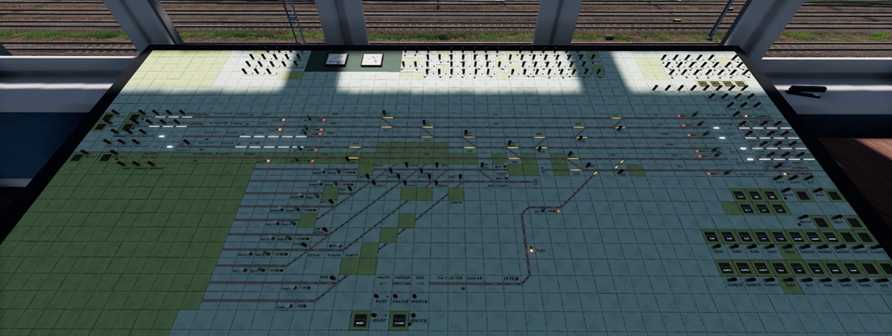
Információt ezen biztosítóberendezések működéséről lentebb találsz.
Elektronikus biztosító berendezés kezelése
Az alábbi piktogramok a kezelőfelületen találhatóak:
Kezelési műveletek
Fontos: Minden vonatnak a vágányutat jelzőtől jelzőig kell kezelned!
Érkező vágányút beállítás
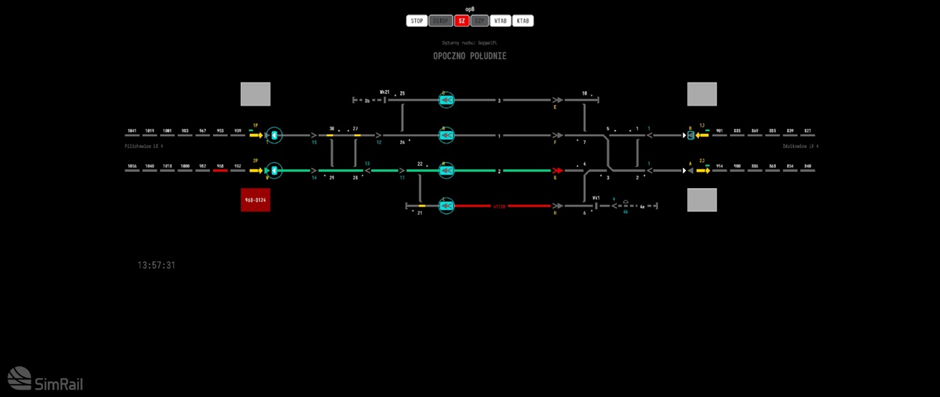
Ahhoz hogy vonatot fogadj az állomásodra, először ki kell jelölnöd a bejárati jelzőt ahonnan a vonat érkezik, ilyenkor kékkel kijelöli a lehetséges végpontokat (ezek kijárati jelzők)
Ezután válaszd ki az a kijárati jelzőt amelyik vágányra szeretnéd a vonatot hozni. Ha ez megtörtént akkor felül megjelenik egy megerősítő ablak, ahol a "Confirm" megnyomásával tudod megerősíteni a kezelni kívánt vágányutat.
Induló vágányút beállítás
Jelöld ki az adott vágányon található kijárati jelzőt, majd kék színnel kijelöli a lehetséges végpontokat. Válaszd ki a végpontot ahova szeretnéd a vonatot küldeni.
Vonatot csak akkor tudsz továbbküldeni a következő állomás felé ha az adott feltételek teljesülnek:
- A vonalblokk a szomszédod irányába mutat
- Az első térköz nincs vonat által foglalva Ha sikeres a kezelés és jó helyre küldöd a vonatot, akkor a vágányút felépül.
Áthaladó vágányút beállítás
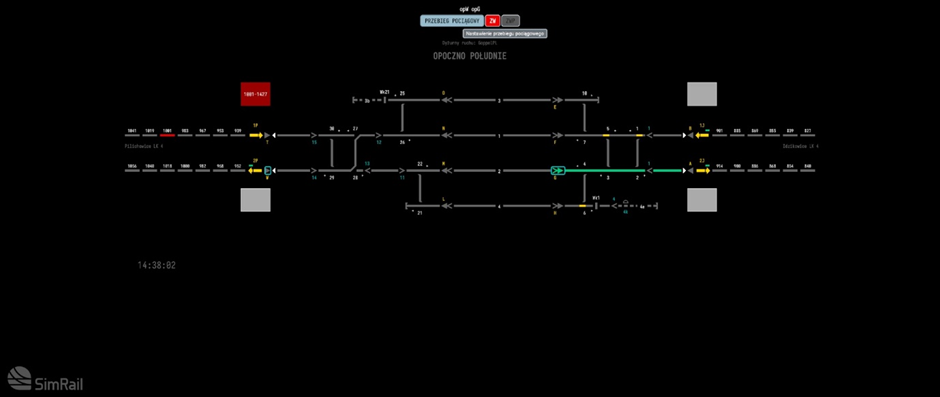
Ilyenkor a bejárati jelző kiválasztásával és a végpont kiválasztásával a vágányutat végig tudod kezelni az állomásodon bejárati új és kijárati út külön kezelése nélkül.
Vágányút feloldása
Should you set a wrong signal route by mistake (ie. mistake a train stopping at the station for a passing one), there is a way to terminate a signal route. To do so, redo the setting procedure – click on the first signal, then the one the wrong route leads to, and then the “ZD” command. The signal will instantly turn red, but the route will remain secured for the next 90 seconds to secure the time for the train to stop safely and prevent the switches to be switched under the rolling stock. After the 90 seconds pass you’ll be able to set the route again.
Ha rosszul állítottál be egy vonatnak vágányutat, akkor lehetőséged van visszavonni a vágányutat. Ilyenkor jelöld ki a felépített vágányúton ugyanazt a jelzőket amivel kikezelted a vonat útját majd a megerősítés helyett "ZD" parancsot használd. Ez után a jelző azonnal visszaesik továbbhaladást tiltó állásba, de még az útvonal megmarad. Ekkor meg kell erősíteni a vágányút visszavonását. Sikeres megerősítés esetén a vágányút rózsaszínre fog váltani. Ez után 90 másodperc után a visszavont vágányút oldódni fog.
Feloldott vágányút
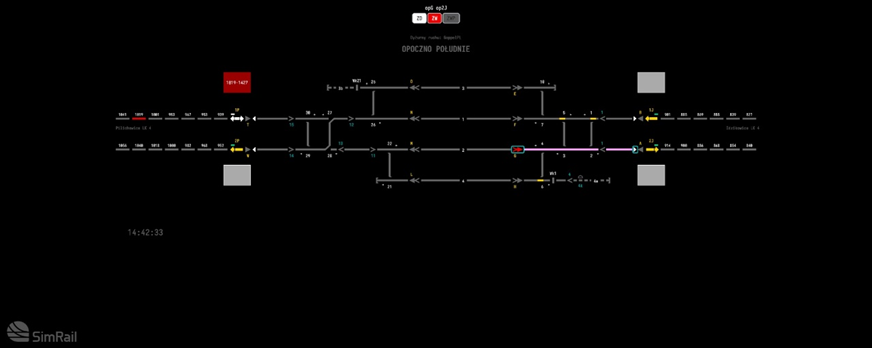
Menetirány semleges állásba állítása
A vonalblokknak a menetirányát semleges állásba a "ZWBL" gombbal tudod kikezelni. Menetirányt semleges állásba csak akkor tudsz ha a menetirány feléd mutat.
Ha sikerült beállítani semleges állásba a menetirányt akkor a nyíl indikátor szürkére vált és mindkét irányba fog mutatni.
Menetirány állítás a szomszédod felé
Ahhoz hogy menetirányt állíts a szomszédod felé, semleges állásban kell legyen alapból a menetiránynak.
Jelöld ki a menetirány gombot, majd nyomj rá a "WBL" gombra. Ezzel kezdeményezed a menetirány beállítását a szomszédod felé. Ekkor elkezd villogni a nyíl a szomszédod felé.
Ha a szomszédod megerősítette a menetirányt a "PZB" gombbal, akkor a menetirány felépül. Ekkor már a nyíl nem fog villogni, hanem állandóvá válik.
Hívójelzés
Amikor rendes vágányúttal nem tudsz vonatot közlekedtetni egyéb okok miatt, akkor lehetőség van a hívójelzés kikezelésére. Ez egy nagy figyelmet igénylő művelet!
Hívójelzés menete:
- Állítsd be manuálisan az összes vágányútban érdekelt váltót a megfelelő állásába
- Ellenőrizd ahol a vonatot végig akarod vinni, az útvonalon végig megfelelő állásba vannak a kitérők, nincs-e esetleges vonat ütközésnek lehetősége.
- Jelöld ki a jelzőt ahová ki akarod kezelni a hívójelzést
- Nyomj rá az Sz jelű parancsra a képernyő tetején, ekkor a háttér szürkére vált.
- 5 másodperc elteltével meg kell erősítened a hívójelzésed az Sz újboli megnyomásával, ez idő alatt is ellenőrizd végig hogy hova hívóztatod a vonatot. Megerősítés utána a jelző fehér színre vált és elkezd villogni. A hívójelzés 90 másodperc után automatikusan törlődik. Ha elrontottad a vonat vágányútját akkor visszaveheted a hívójelzést az OPS gombbal.
Irányítás állomástávú vonalakon
Ha olyan helyen irányítunk, ahol a szomszédjaid és közted nincsenek automata térközök ott állomástávú közlekedésről beszélünk. Ilyenkor minden vonatot a szomszéd állomás írásos vagy szóbeli engedélyével lehetséges közlekedtetni.
Vonat fogadás
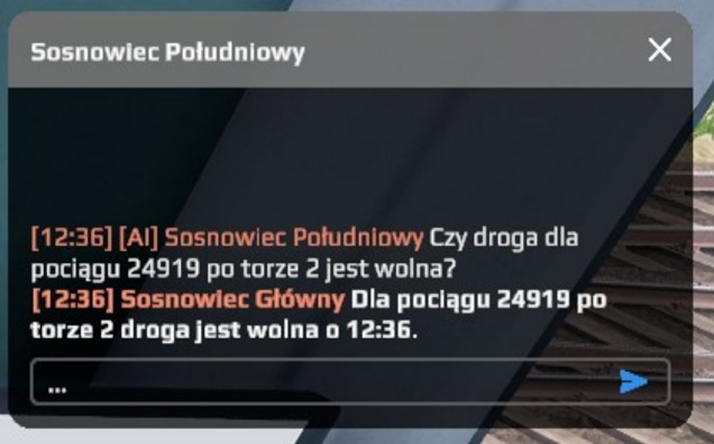
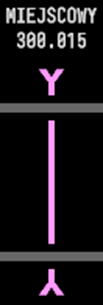
Miután az engedélykérés megtörtént a szomszéd kérvényezni fogja a menetirányt amit a sárga feléd mutató nyíl villogása fog jelezni. Ezt a PZK gombbal tudod elfogadni. Ekkor a menetirány beáll feléd. Ez után tud a szomszéd vonatot küldeni neked.
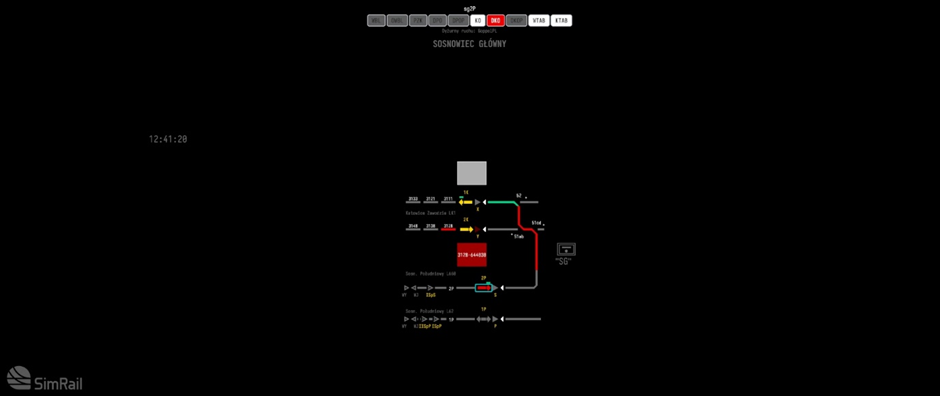
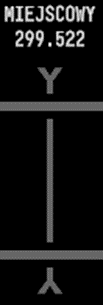
Ha leközlekedett a vonat az irány nyíl pirosra vált, ekkor a KO gombbal meg kell erősítsd hogy megérkezett a vonat. Ha ez megtörtént a menetirány ismét semleges állásba fog kerülni.
Vonat küldés
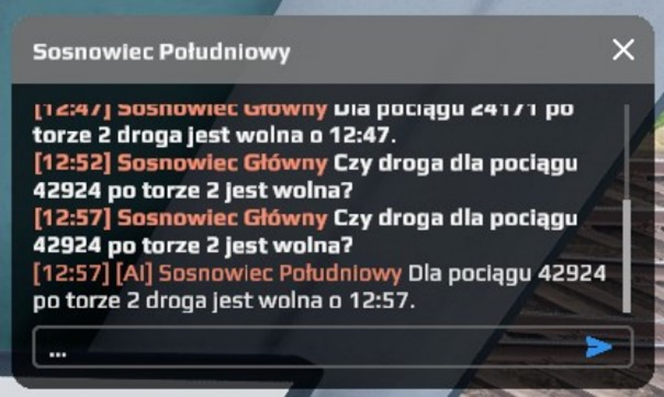
Vonatküldés esetén fel kell hívnod a szomszéd állomás diszpécserét és engedélyt kell kérned az adott vonatra. Meg kell adnod neki a vonatszámot, hogy melyik vágányra akarod küldeni. Ha visszaigazolt, akkor a biztosítóberendezéseden a WBL gombbal meg kell kérned a menetirányt. Ha megkaptad akkor a villogó nyíl folyamatossá válik. Ekkor már küldheted a vonatot.
Running on substitute signal - entering the station
When a regular “proceed” signal cannot be given, the supplementary Sz signal is used. With the Sz signal the signal routes are not confirmed – the switches are set manually via the “PLUS” and “MINUS” commands, and then locked with the “STOP” command. After confirming that the way is free with the neighboring dispatcher, you should expect a demand to allow changing the interlock’s direction. Only when you allow it by the “PZK” command, the neighbor can dispatch a train to you. When a train appears on the line between the stations, use the “DKO” command and after five seconds confirm it with “DKOP” to expediently lock the ending block.
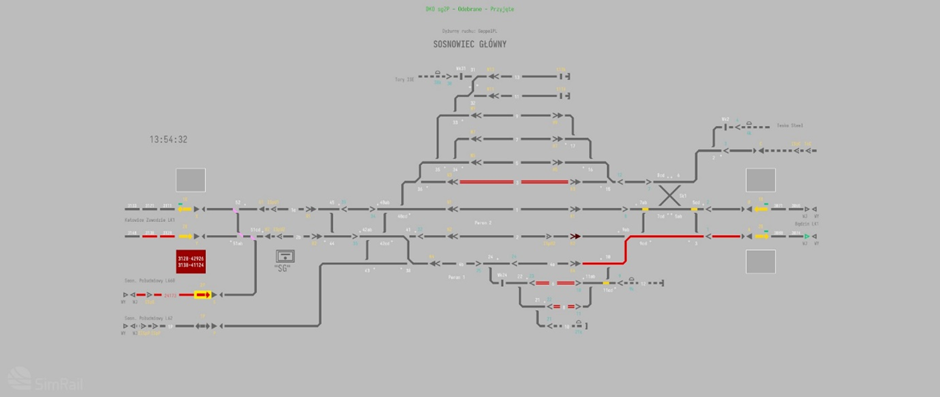
This way the interlock is able to send a “KO” command without an entry signal being issued, and a yellow box will appear over the red interlock arrow.
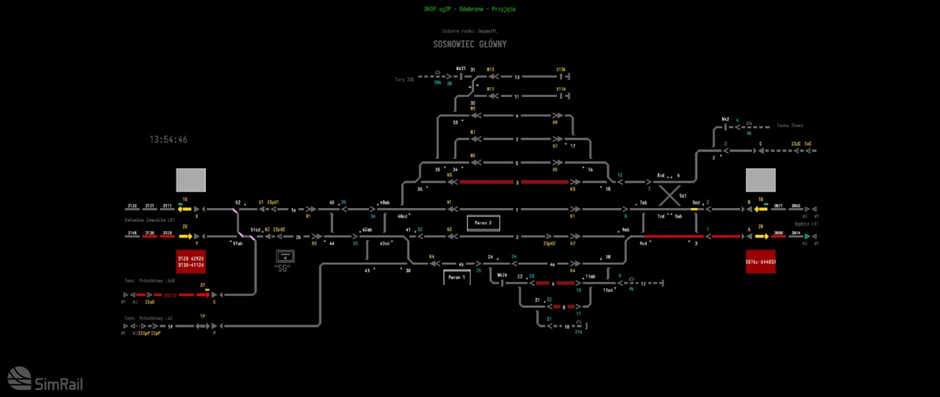
Now you can issue the supplementary signal Sz.
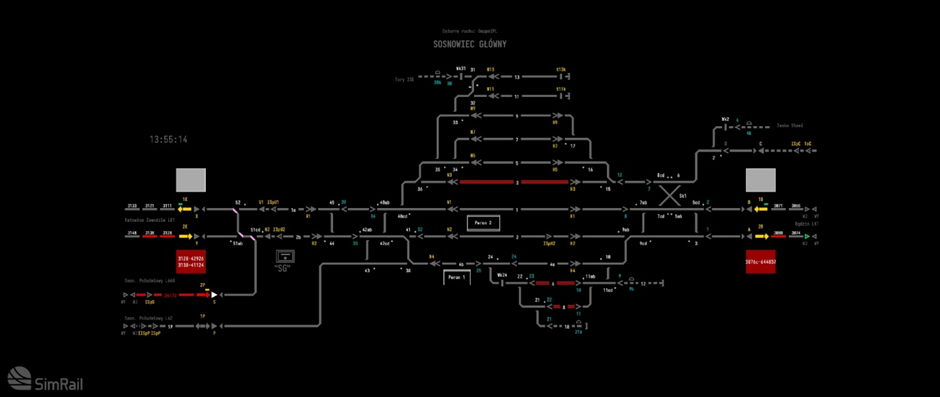
When the train vacates a section behind a signal, the “KO” command will unlock. After issuing the “KO” command the interlock will return to idle.
Running on substitute signal - exiting the track
When a regular “proceed” signal cannot be given, the supplementary Sz signal is used. With the Sz signal the signal routes are not confirmed – the switches are set manually via the “PLUS” and “MINUS” commands, and then locked with the “STOP” command. After turning on the interlock with the “WBL” and setting the Sz signal with “SZ”/”NSZ” and “SZP”/”NSZP” commands, when the train departs, click on the interlock arrow and use the “DPO”, and then, after five seconds “DPOP” to confirm the command. This way we send an information about the train’s departure. When the train arrives at the neighboring station, the dispatcher there releases the end block and the interlock returns to idle.
Controlling train traffic using relay devices
The relay dashboard’s buttons and switches are as close as possible to the system they are controlling. The buttons are labeled with their function’s shortcut or with the name of the device they operate. Bear in mind that the buttons may be pushed (LMB) and/or pulled (RMB). All operations triggered by the buttons take a while, and the buttons must be held active for about one second. All signal routes are set manually, switch by switch, and you must be sure the route is correct before using a signal button. Apart from different equipment and its limitations, the dispatching rules are the same, and the orders are similar to the computer ones.
Some of the dashboard’s elements are:
Preparing train route and signaling on semaphore
In order to prepare a signal route you need to use switch buttons on the signal route. The switch slits light up in yellow showing the switches’ current setting. After carefully checking the signal route you can approve it by pushing the signal button.
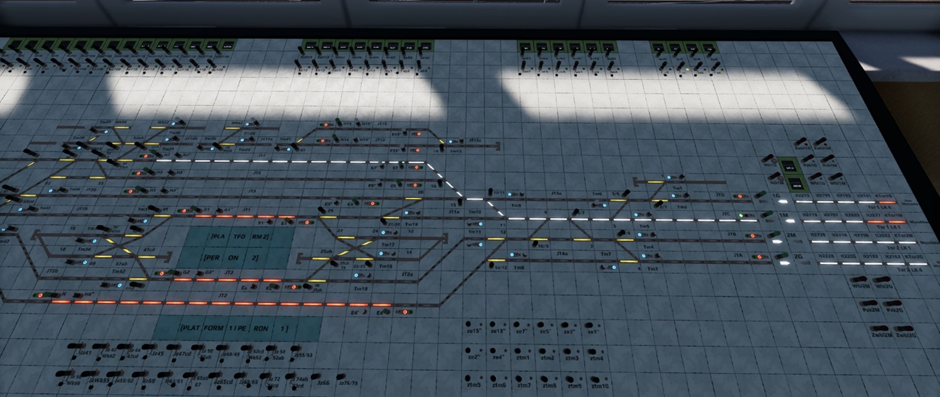
A set, confirmed signal route will light up in white.
Resolving train route
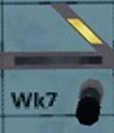
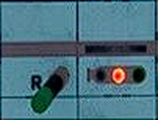
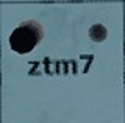
Should the signal route be set wrong, it needs to be terminated. In order to do so, pull on the signal button to set it to “Stop”, and find the sealed signal route termination button. Coming in handy is the signal route confirmation light, right next to the button. If there are several signal routes active you should look for the one labeled “zsemaphore_name”, ie. zK10 or zC. After breaking its seal, pull on the route termination button. The track slits will extinguish, and – only if they turn out unoccupied – the switches can be set again.
Controlling traffic with substitute signal
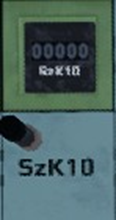
In order to give a supplementary signal Sz, you need to find a Sz button corresponding to the semaphore you want to light it on. The Sz buttons are mostly located on top of the dashboard and are called “Szsemaphore_name”, ie. “SzC”. To give the signal pull on the button. The signal will remain on for 90 seconds or until you push the Sz button. Every supplementary signal is recorded by the counter next to the button.
Dispatching trains on the opposite track
Releasing the interlock’s direction
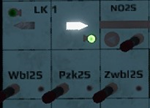
In order to prepare the interlock to switch its direction you need to find the “Zwbl” button of the track you want to dispatch the trains to, for the direction to be released.
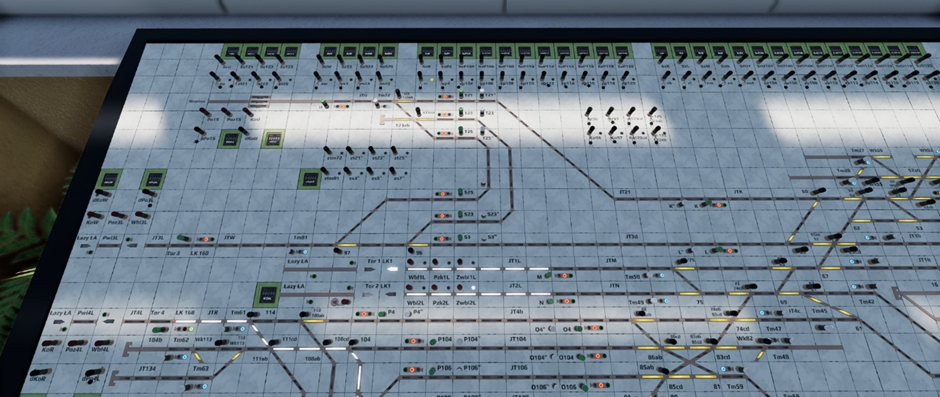
If the line is free, the interlock direction arrow will start to blink, and the Zwbl button light will come on. After the interlock direction is set to zero, both direction arrows will extinguish, and the interlock will become inactive.
Ordering to change the interlock direction
In order to activate the interlock in the direction out, you need to find the “Wbl” button.
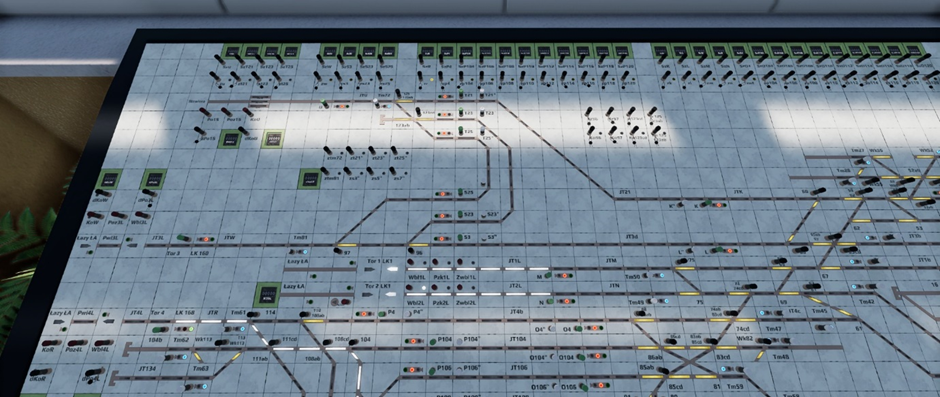
After it’s pressed, the “Wbl” light will come on, and the interlock direction arrow will begin to blink in the direction you have chosen, waiting for the neighboring dispatcher to confirm the change. After the confirmation, the light will come on steady and the interlock is active in the direction set.
Dispatching a train to the opposite track
In order to dispatch a train to the opposite track, before using the signal button you need to find the “Opposite track departure” (“NO”) button and use it.
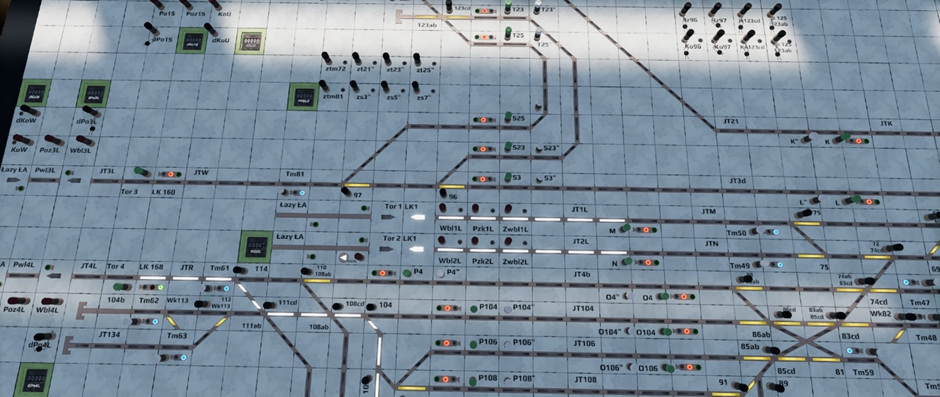
A small arrow next to it will light up, pointing in the departure direction. You can use the signal button now. The arrow will extinguish, and the signal route will set properly for the train.
Letting in a train going on the opposite track
When the interlock direction arrow begins to blink, use the direction change (“Pzk”) button. The arrow will light up steady. Next we use the “Arrival from the opposite track” (“NP”) button. A small arrow pointing in the direction of the arrival will come on and setting an arrival signal will be able. After the train arrives you need to use the “NP” button once again in the opposite direction in order to confirm the train’s arrival.
Dispatching on the semi-automatic interlock
When dispatching on the semi-automatic interlock, you need to use end- and starting blocks, as well as to communicate with your neighboring dispatcher in order to agree if the line is clear.
Arrivals
After confirming the route is clear to the neighboring dispatcher, you should expect the interlock direction light blinking white. After using the “allow” (“Poz”) button the arrow will turn red.
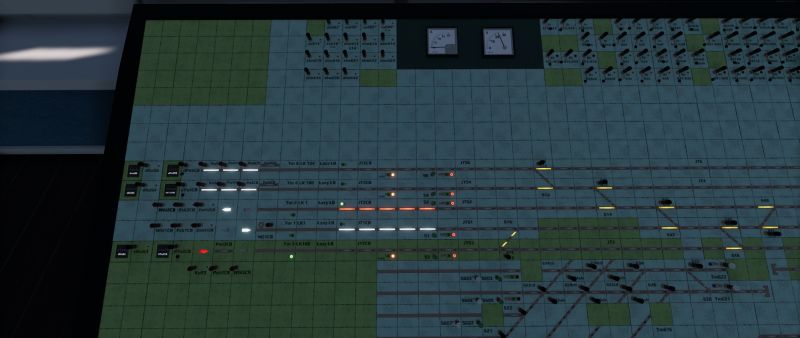
After the train leaves a section behind the signal, an end block light will come on. When you use the button the light extinguishes and the interlock returns to idle.
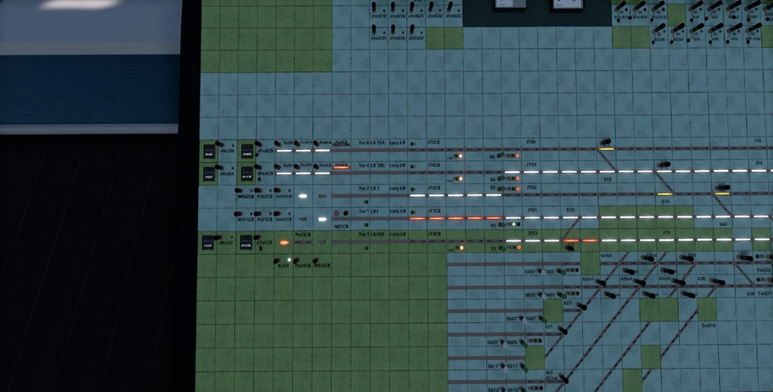
Departures
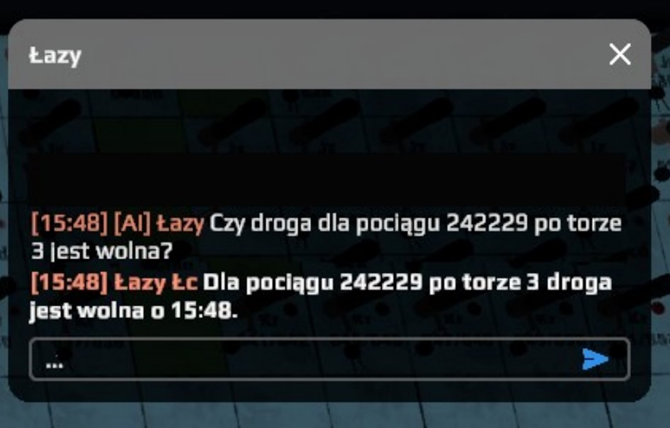
In order to receive an approval to turn the interlocking on, you need to call the neighboring dispatcher and ask if the route for train number via track number is free.
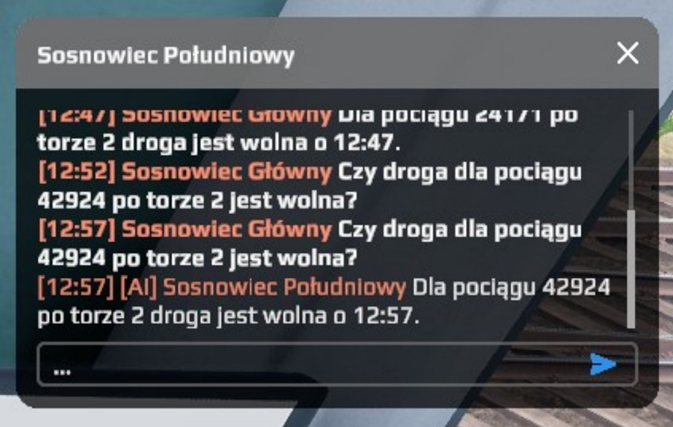
After receiving such confirmation you can proceed and turn the interlocking on with the “Wbl” button. After the neighboring dispatcher allows the interlock on, it will set in the chosen direction and you will be able to dispatch a train. When the train arrives at the neighboring station, its dispatcher will set the end block free and the interlock returns to idle.
Communication with other players

Telephone conversations with neighboring dispatches
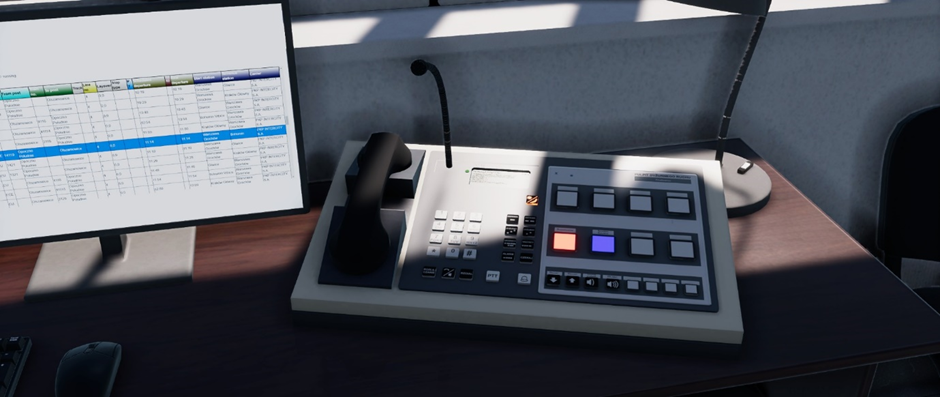
The dispatchers use this telephone to contact each other. To call a neighboring post click on the handset – you’ll hear a constant dial tone – and choose one of the highlighted square buttons to the right, each one representing a neighbor. If the button is highlighted in purple, the AI Dispatcher is active at this station, and only chat communication is available. After selecting the dispatcher you wish to call, a popup will show allowing you to choose if you wish to use voice (microphone icon) or text chat (chat icon) to contact them. If you chose voice the call will start, and when it’s received by the other dispatcher you can speak to them. You don’t need to use push-to-talk button when talking on the telephone. If you chose text chat, a chat window will open, and another popup will show, this time containing predefined commands and phrases. The AI Dispatcher will only respond to the predefined options when they are filled in with correct data. After you’re done with the call, simply put the handset back where you took it from.
Should another player contact you, it’s caller selector will highlight in red and you will hear the telephone ringing. To receive the call simply click on the handpiece. During the call the selector button will be highlighted in green. To end the call just put the handpiece down and the caller’s button will return to gray.
Radio telephone conversations
The radio is used mainly to contact the drivers, although it may be used to speak with other dispatchers when radio announcing operations are in use. The radio operating range is ca. 10-15 km, and the broadcast is open, heard by all the players (both drivers and dispatchers) in range that use the same radio channel. To start broadcasting, push and hold the PTT button (` by default) and release it when you’re finished.
Created by SimRail team · © 2023


